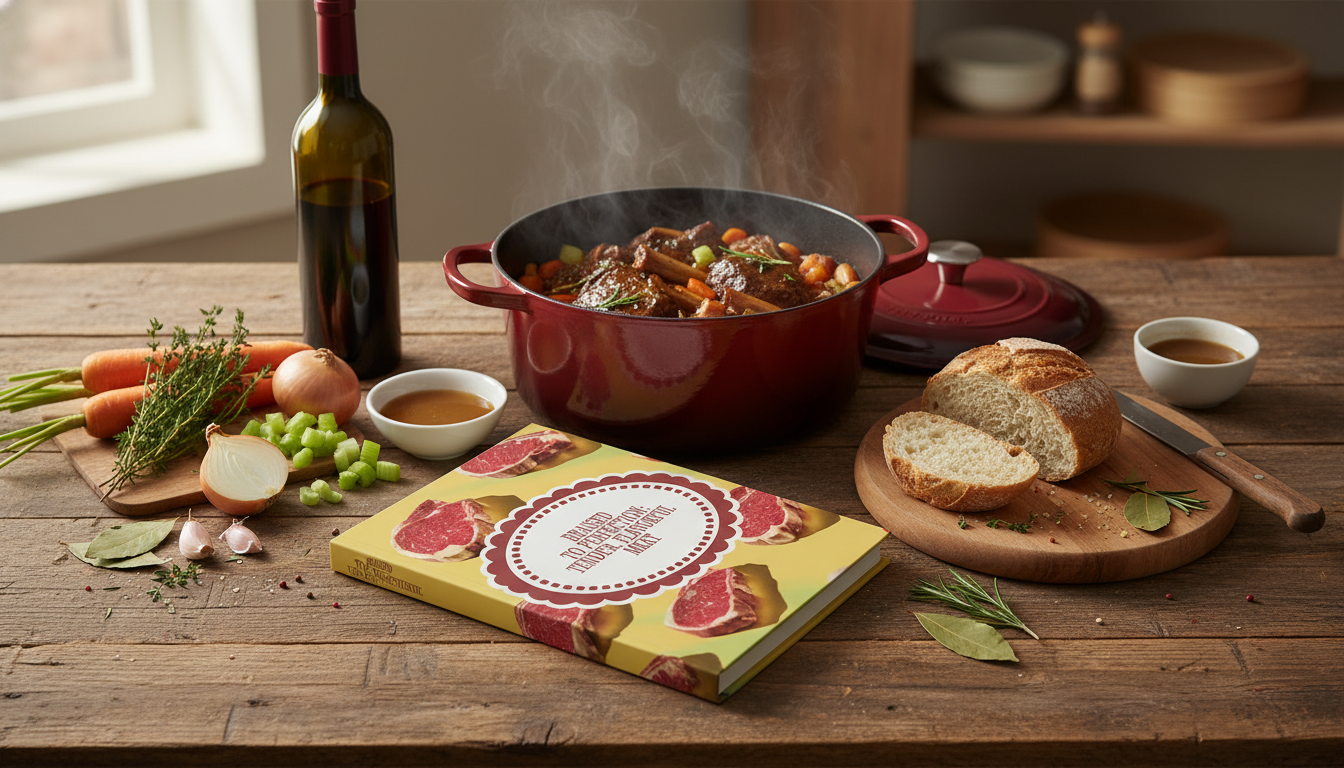
Braising is one of the most reliable ways to turn tougher cuts into fork-tender meals with deep, savory flavor—without needing advanced skills or fancy equipment. With a hot sear up front and a slow, gentle simmer to finish, you get meat that stays juicy and a sauce that tastes like it cooked all day (because it did, just quietly). Below is a clear, beginner-friendly walkthrough of the method, plus timing guidance and quick fixes for the most common problems.
Braising combines two techniques: first you sear the meat to build a browned crust, then you cook it low and slow in a covered pot with a small amount of liquid. That lid is more important than it looks—tight coverage limits evaporation so the pot stays moist while the flavors concentrate into a silky sauce.
The real magic is time at gentle heat. Collagen-rich cuts contain connective tissue that slowly melts into gelatin, which is what gives braises their “luxurious” mouthfeel and turns chewy meat into something you can cut with a spoon. For the science-minded, Harvard’s overview of how heat affects meat proteins helps explain why lower, slower cooking can yield a more tender result when used correctly (Harvard T.H. Chan School of Public Health).
The best braising cuts are either well-marbled or loaded with collagen (or both). Those qualities keep meat juicy over a long cook and help enrich the sauce.
| Meat/Cut | Best Pot Option | Typical Oven Temp | Approx. Time | Done When |
|---|---|---|---|---|
| Beef chuck (2–4 lb) | Dutch oven | 300–325°F (150–165°C) | 2.5–4 hours | Fork-tender; pulls apart with gentle pressure |
| Beef short ribs | Dutch oven | 300°F (150°C) | 2.5–3.5 hours | Meat yields easily; bones loosen |
| Pork shoulder chunks | Dutch oven | 300–325°F (150–165°C) | 2.5–4 hours | Shreds; collagen melted into sauce |
| Lamb shanks | Dutch oven | 300°F (150°C) | 2.5–3.5 hours | Tender to the bone; sauce thickened |
| Chicken thighs | Skillet + lid / braiser | 325°F (165°C) | 35–60 minutes | Juices run clear; tender but intact |
If you want a compact reference that keeps the sequence and timing clear, Braised to Perfection: Tender, Flavorful Meat (digital guide) is designed for beginners who want dependable results without guesswork. It focuses on what to do first, what to watch for during the simmer, and how to finish the sauce so the method translates across beef, pork, lamb, and chicken.
For serving and finishing, a few small upgrades can make the meal feel special: a clean, balanced flatware set like the 24-Piece High-End Stainless Steel Cutlery Set for 6 – Luxury Flatware Kit works well for hearty plates, and the Stainless Steel Fruit Prep Tool Set – Corer, Scoop & Carving Knife is handy for quick garnishes (citrus twists, shaved fruit, or neat finishing touches) that brighten rich braises.
Typically, add liquid to about 1/3 to 1/2 up the sides of the meat. The goal is gentle simmering and steaming in a covered pot, not fully submerging the cut; add a splash more if the pot starts to run dry.
Oven braising is usually steadier and less likely to scorch because heat surrounds the pot evenly. Stovetop braising can work well too, but it needs very low heat and occasional checks to keep the simmer gentle.
Tenderness is the signal: it should yield easily to a fork and feel soft all the way through. If it’s still chewy, it needs more time at a gentle simmer—collagen hasn’t fully melted yet.









Leave a comment