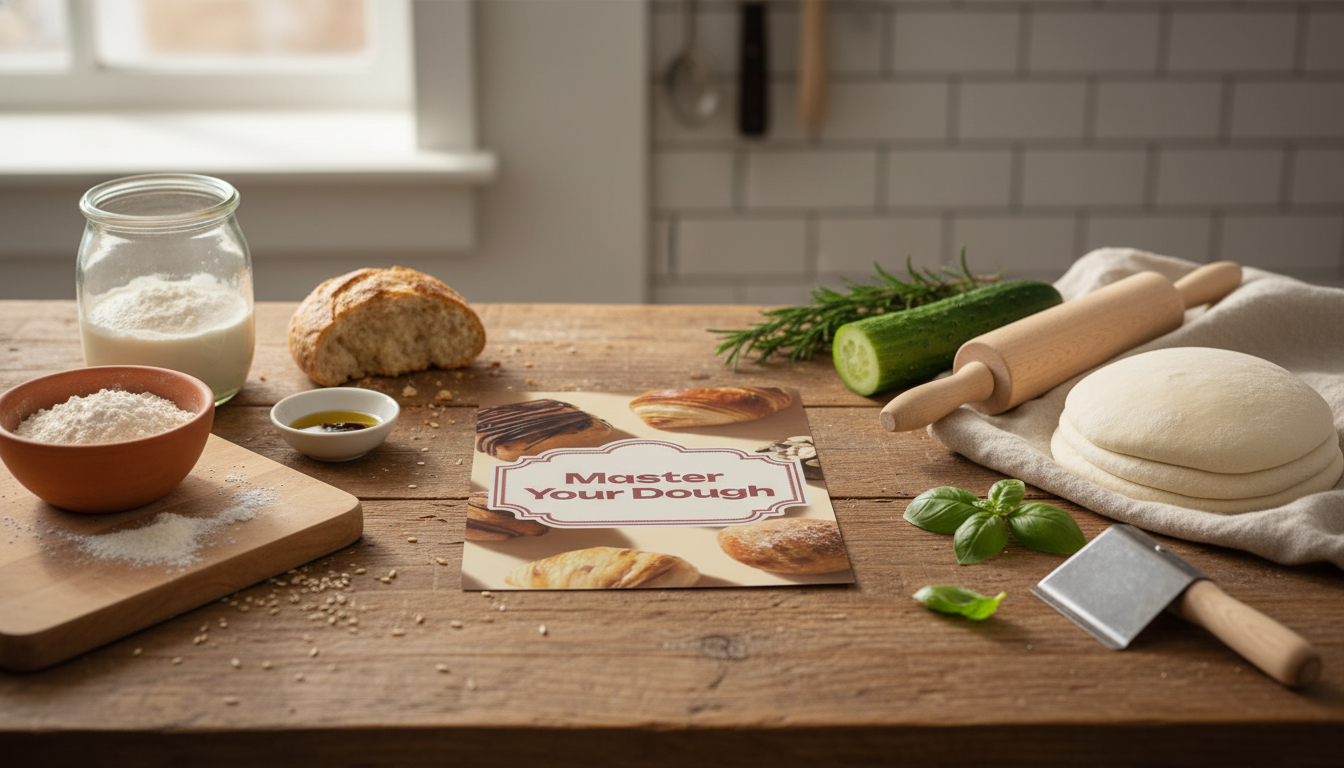
Dough can feel unpredictable at first—sticky one day, tight the next, and never quite matching the photos. A simple, repeatable routine makes the biggest difference. This printable checklist turns core dough-handling habits into quick steps that help beginners mix, knead, rest, shape, proof, and bake with fewer surprises across bread, pizza, and pastries.
When dough goes sideways, it’s usually not “bad luck”—it’s one or two variables drifting: temperature, timing, hydration, or handling. A checklist standardizes the parts that matter most so each bake teaches something useful.
Most “dough disasters” start before flour meets water. A calm setup keeps you from panic-flouring the dough or rushing rests that would have solved the problem for free.
| Step | Why it matters | Beginner-friendly target |
|---|---|---|
| Clear counter + tools ready | Reduces over-handling and rushed decisions | Everything within arm’s reach before water touches flour |
| Set a timer for rests | Gluten develops during rest; prevents over-kneading | Track every rest/ferment window |
| Prepare a proof container | Helps assess rise accurately | Transparent container with markings or a rubber band |
| Decide flour vs oil | Prevents adding excess flour | Flour for shaping; oil/water for sticky dough handling |
Mixing is less about achieving instant perfection and more about creating a dough that can improve during rests. If you can reach “shaggy but fully hydrated,” you’re already winning.
If you want a reliable reference library for dough methods and ingredient behavior, King Arthur Baking’s guides are a strong, practical resource: https://www.kingarthurbaking.com/learn/guides.
Beginners often try to “knead the problem away,” but time and rests do a huge share of gluten development—especially for wetter doughs.
“Let it double” is a rough shortcut, not a universal truth. Flour type, dough temperature, and enrichment all change what “ready” looks like.
For deeper technique breakdowns (especially on fermentation and handling), Serious Eats has solid explainers: https://www.seriouseats.com/bread.
If you’re working with enriched doughs, keeping eggs organized and easy to grab helps you stick to a consistent routine—especially when you’re timing rests. The Refrigerator Egg Storage Box is a simple way to keep ingredients accessible without rummaging mid-mix.
For food safety basics around refrigeration timing (useful when cold-fermenting dough or storing enriched dough ingredients), reference USDA guidance: https://www.fsis.usda.gov/food-safety/safe-food-handling-and-preparation/food-safety-basics/refrigeration.
If you want a ready-to-print routine you can reuse across recipes, the Master Your Dough – Printable Checklist for Beginners is designed to be quick on the counter and detailed enough for notes. For prep tasks that pop up alongside baking (fruit fillings, garnish work, or quick mise en place), the Stainless Steel Fruit Prep Tool Set – Corer, Scoop & Carving Knife helps keep the workflow moving without switching tools mid-recipe.
Look for a dough that feels cohesive, elastic, and smoother than when you started; it should stretch without tearing immediately, and a partial windowpane is a good sign. Lean dough often shows strength sooner, while enriched dough may need more mixing plus rests to fully come together.
Sticky dough is often too warm, under-developed, or simply high-hydration—adding more flour can mask the problem and make the final texture heavy. Try resting, adding folds, cooling the dough, and using wet or lightly oiled hands instead of dumping in extra flour.
Use container markings to track rise and rely on the finger-dent test rather than a strict timer. If your schedule slips, proof cooler (or refrigerate) so fermentation slows down, then shorten the next proof based on how the dough behaved.










Leave a comment