HomeBlogBlogCompost Kitchen Scraps: Beginner Steps to Rich Soil

Compost Kitchen Scraps: Beginner Steps to Rich Soil

Compost Kitchen Scraps: Beginner Steps to Rich Soil

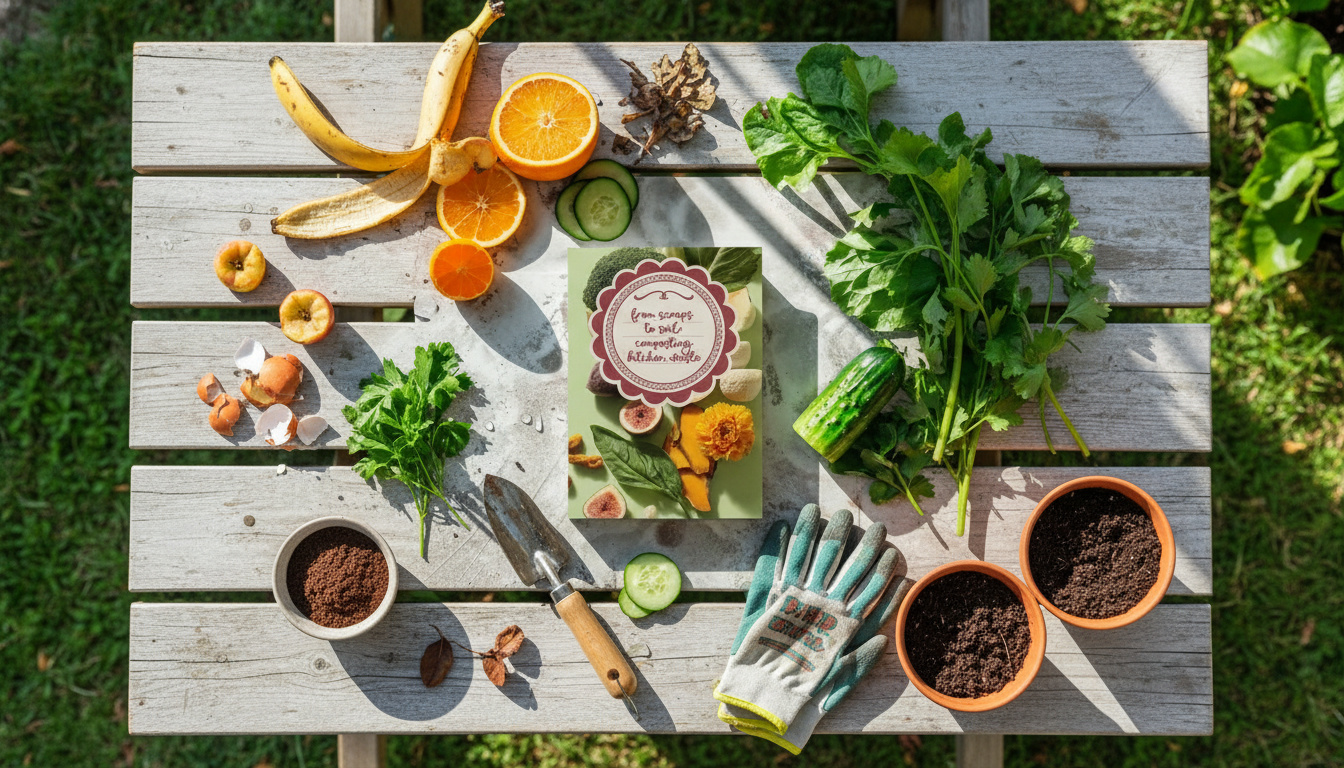
From Scraps to Soil: A Beginner’s Guide to Composting Kitchen Waste

Kitchen scraps can become a clean, earthy soil builder instead of trash. With a simple setup and a little “greens and browns” know-how, beginners can compost confidently—reducing landfill waste while making a nutrient-rich amendment for gardens, containers, and houseplants.

Why composting kitchen scraps is worth doing

  • Cuts down household trash and reduces the amount of organic waste sent to landfills.
  • Creates a nutrient-rich soil amendment that improves soil structure and moisture retention.
  • Helps close the loop: peels, grounds, and leftovers feed future plants.
  • Builds an easy weekly habit—collect, layer, and let microbes do the work.

If you’re looking for a step-by-step reference you can keep on your phone or tablet, the From Scraps to Soil: Composting Kitchen Waste Guide (digital download) lays out beginner-friendly routines, troubleshooting, and practical ratios.

Choosing a composting method that fits your space

The “best” compost method is the one you’ll actually maintain. Pick a system that matches your space, time, and tolerance for turning or monitoring moisture.

  • Countertop scrap collection: Use a small container with a lid to consolidate scraps before they go outside. Empty it often to keep fruit flies away.
  • Outdoor pile or bin: Great for yards; a larger volume tends to compost more steadily through weather changes.
  • Tumbler: Easier turning and faster mixing; helpful if pests are a concern or you want a tidy footprint.
  • Indoor options (worm bins): Vermicomposting can work well in apartments. When balanced, it’s low-odor and surprisingly compact.
  • Community compost drop-off: A practical option when home space is limited—still worth collecting scraps and keeping them out of trash.

Tip for day-to-day prep: smaller scraps break down faster. A simple tool kit like the Stainless Steel Fruit Prep Tool Set – Corer, Scoop & Carving Knife makes it easier to core apples, scoop squash, and trim produce into compost-friendly pieces as you cook.

Greens and browns: the simple balance that prevents odor

Most compost problems trace back to one issue: the pile is either too “green” and wet, or too “brown” and dry. Think of compost as a breathable sponge cake—moist, fluffy, and layered.

  • Greens (nitrogen-rich): fruit and vegetable scraps, coffee grounds, tea leaves, fresh plant trimmings.
  • Browns (carbon-rich): dry leaves, shredded cardboard, uncoated paper, straw, wood chips.
  • Easy starter rule: add a generous handful of browns whenever you add a bowl of kitchen scraps.
  • If it smells sour or like ammonia: add more browns and mix to improve airflow.
  • If it’s dry and not breaking down: add moisture (aim for wrung-out-sponge dampness) and mix in more greens.

Kitchen Compost Quick Guide: What Goes In vs. What Stays Out

Add (most home compost bins) Avoid (common beginner troublemakers) Notes
Vegetable and fruit scraps Meat, fish, bones Animal products attract pests and cause odor in many home systems.
Coffee grounds and paper filters Dairy (cheese, yogurt, butter) Small amounts can overwhelm a small bin quickly.
Eggshells (crushed) Oily, greasy foods Crushing shells helps them break down faster.
Dry leaves and shredded cardboard Large quantities of citrus/onion (in small bins) Small amounts are usually fine; balance with browns.
Tea leaves and plain tea bags Pet waste Pet waste can carry pathogens; composting standards differ.

Step-by-step setup for a beginner-friendly compost bin

  1. Start with airflow: If composting outdoors, place coarse browns (twigs, wood chips, crumpled cardboard) at the bottom to prevent soggy compaction.
  2. Layer deliberately: Add kitchen scraps (greens), then cover completely with browns to reduce odor and fruit flies.
  3. Keep it damp, not wet: The goal is moisture like a wrung-out sponge. If it drips when squeezed, it’s too wet—add dry browns.
  4. Turn or mix weekly: Once per week (or after bigger additions), mix to bring oxygen into the center where decomposition heats up.
  5. Chop scraps smaller: Smaller pieces break down faster and reduce the chance of slimy pockets. Freezing scraps can also help them break down quickly after thawing.

For eggshells, collect and crush them before adding. If you like keeping shells tidy in the fridge until you’re ready, a simple organizer like the Refrigerator Egg Storage Box can help keep your routine neat (and your compost additions more consistent).

Common compost problems and quick fixes

For additional best practices and safety notes, see the United States Environmental Protection Agency (EPA) guide to composting at home and Cornell’s Waste Management Institute composting resources.

Knowing when compost is finished (and how to use it)

A practical beginner plan for the first 30 days

FAQ

Can composting be done in an apartment without a yard?

Yes—worm bins (vermicomposting) work well indoors when scraps are covered with browns and moisture stays balanced. If you don’t want an indoor bin, collect scraps in a lidded container and use a community compost drop-off.

How can composting avoid smelling bad?

Odor is usually a sign of too many “greens” or not enough airflow. Add dry browns, mix to aerate, and keep moisture at the level of a wrung-out sponge; if it smells like ammonia, add even more browns and turn.

How long does kitchen-scrap compost take to turn into usable compost?

It can take a few months in an outdoor bin, sometimes faster in a tumbler with regular turning, and often longer (but steady) with worms. Rather than the calendar alone, look for dark, crumbly material with an earthy smell and few recognizable scraps.

Was this article helpful?

Yes No
Leave a comment
Top

Shopping cart

×