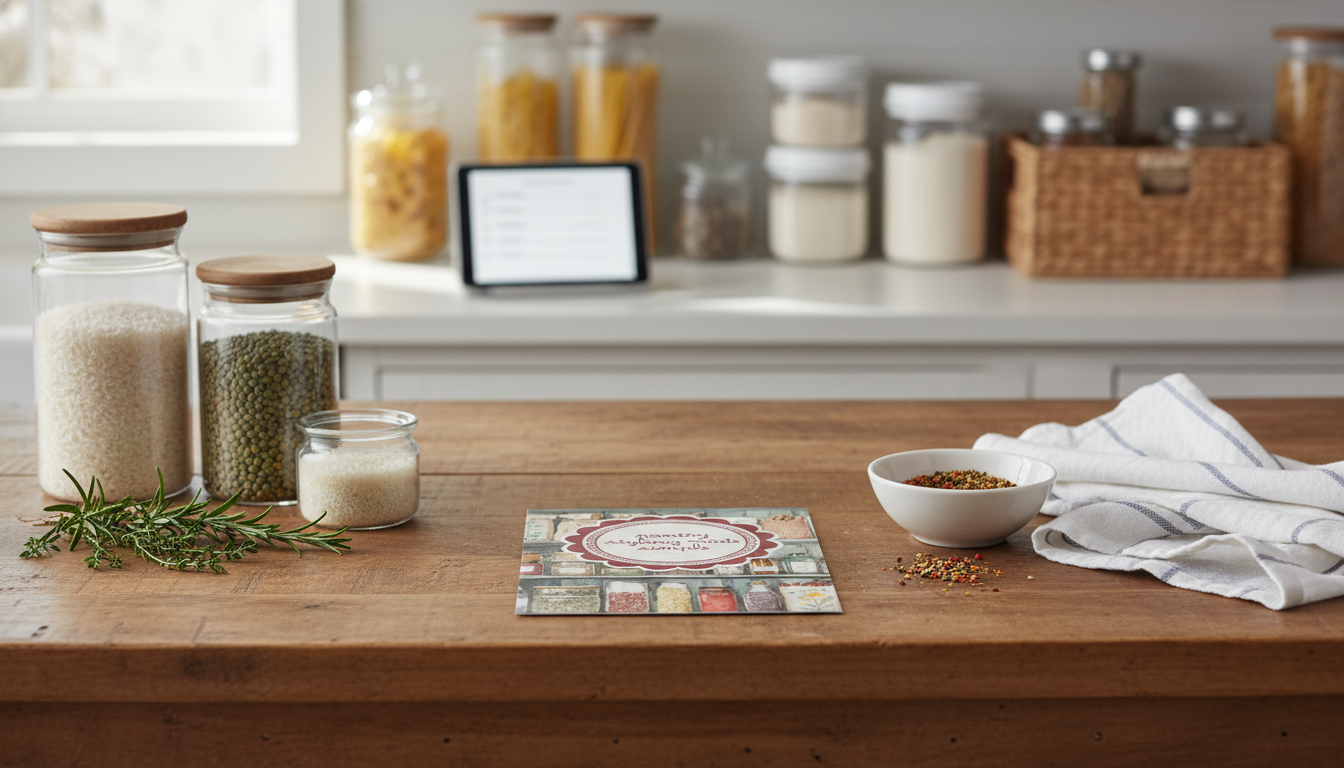
A well-styled pantry isn’t about perfection—it’s about making everyday cooking faster, cleaner, and less stressful. The easiest pantries to live with are the ones that are simple to scan, simple to restock, and simple to reset after a busy week. Below is a step-by-step pantry refresh you can finish in realistic chunks, plus a printable checklist that keeps the system from fading after the first grocery run.
Pantry styling is function first: group items by how they’re used, then make those groups visually easy to spot. When categories are consistent, you stop “hunting” for ingredients and start cooking sooner.
If you want a quick, repeatable workflow, the Pantry Styling Made Simple printable checklist turns these ideas into a shelf-by-shelf routine you can keep on the pantry door.
A short prep window keeps the project contained. The goal is momentum, not a full-kitchen teardown.
For date-labeling and food safety basics, reliable guidance is available from the USDA Food Safety and Inspection Service and the FDA.
Decision fatigue is what derails most pantry projects. Use four bins (or four counter corners): keep, toss, donate, relocate.
| Item type | Keep if… | Consider tossing if… |
|---|---|---|
| Flour, grains, cereal | Stored airtight and smells fresh | Smells off, clumps with moisture, signs of pests |
| Oils, nut butters | Within best-by and tastes normal | Bitter/rancid smell or taste |
| Canned goods | Cans intact and within date | Bulging, leaking, deeply dented, rusted seams |
| Spices | Aroma is strong when rubbed | No aroma, years old, or contaminated |
| Baking mixes | Sealed and within date | Open too long, stale odor, visible moisture |
Zones are the backbone of a “styled” pantry. Choose zones that match the way your household actually eats.
A simple way to make zones stick is to name them like destinations: “Breakfast,” “School Snacks,” “Pasta Night,” “Baking,” and “Backstock.” If someone can’t decide where something goes in two seconds, the zone name needs to be clearer.
Pantry styling also pairs well with small kitchen tools that reduce “counter clutter creep.” For quick fruit prep that keeps snack routines easy, the Stainless Steel Fruit Prep Tool Set – Corer, Scoop & Carving Knife is a simple add-on for lunchbox and snack zones.
If your pantry connects to fridge routines (breakfast, snacks, meal prep), consider pairing the same “zoned” approach in the refrigerator. A dedicated container like the Refrigerator Egg Storage Box can help keep breakfast staples visible and easy to grab.
| Step | Action | Done |
|---|---|---|
| 1 | Pick zones and label them (even temporarily) | □ |
| 2 | Remove expired items and create a donate box | □ |
| 3 | Wipe shelves and add liners if needed | □ |
| 4 | Decant high-use staples into airtight containers | □ |
| 5 | Bin small items (packets, snacks, bars, spices) | □ |
| 6 | Place daily items at eye level; heavy items low | □ |
| 7 | Start a ‘use first’ bin and a restock list | □ |
For deeper food-safety reminders during seasonal refreshes, the CDC food safety hub is a helpful reference.
Do a quick weekly reset (2–5 minutes), a monthly check for expired or long-open items, and a deeper seasonal refresh 2–4 times per year depending on how often you cook and how many people you’re feeding.
No—decanting is optional. Prioritize messy staples and frequently used items, and keep original packaging when it’s sturdy, resealable, and clearly labeled.
Create a dedicated snack zone with 1–2 bins for packets, keep a small “use first” bin, and only restock when there’s space in the bin so overflow doesn’t spread to other zones.









Leave a comment